- Author Isaiah Gimson gimson@periodicalfinance.com.
- Public 2023-12-17 02:53.
- Last modified 2025-01-24 12:06.
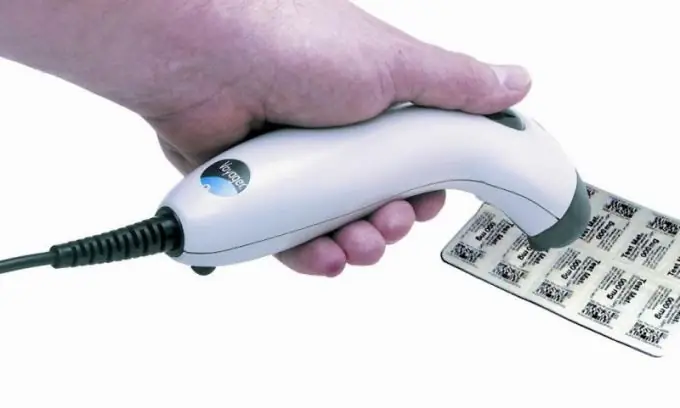
The barcode scanner is a fairly common device. When you connect it to the 1C program, you can search for goods through the "nomenclature" directory, change product barcodes, automatically register purchases in cashier mode, and also automatically fill out various documents. Thus, the use of a barcode greatly simplifies the work with shaded goods in 1C.

It is necessary
- - Barcode Scanner;
- - 1C program;
- - COM port.
Instructions
Step 1
Choose a barcode scanner to work with 1C. They can differ in the way they are read and the connection interface. The most optimal and convenient option is a hand-held scanner with a COM port, since it is convenient to bring it to the product, and the drivers for such a connection interface are supplied with the 1C configuration.
Step 2
Locate the driver file named scanopos.dll in the infobase directory. Check that its settings match the barcode scanner you purchased. In some cases, this driver may not work with a COM port connection higher than 9. For more information, check with software vendors or on special sites on the Internet. Download the required driver if necessary.
Step 3
Start the configuration of the software "1C: Trade Management" or "1C: Retail". Go to the "Service" menu, select the "Set up shop equipment" section and go to the "Barcode scanner" tab. Check the box to enable the equipment and specify its model. Click the "Connect" button and confirm the actions by clicking "OK".
Step 4
Go to the "Options" section of the "Tools" menu. If you have done everything correctly, you will see the "Barcode Scanner" tab. Set the options that match the hardware you purchased. Specify the port number, data bit, speed, number of stop bits, and also check the boxes next to the enable and hardware flow control lines. Click the "Apply" and "OK" button.
Step 5
Check scanner operation. To do this, go to the "Nomenclature" reference book and read any barcode. If the message “No product with such a barcode was found” appears in the window, it means that the connection is correct and you can start working. Otherwise, make corrections in the barcode scanner settings.


